
Key facts
Start here
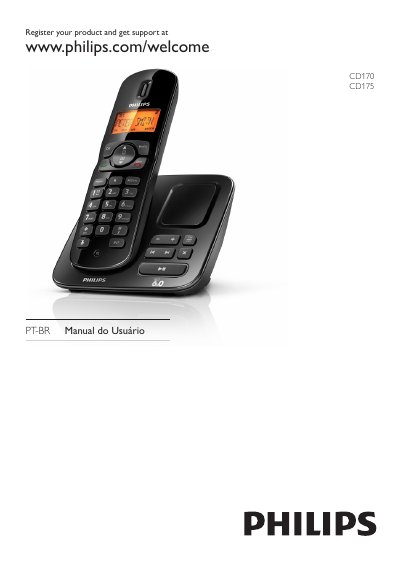
Philips CD170 CD175 User Manual
The manual provides step‑by‑step instructions for setting up the CD170/CD175 handset and base station, including connecting the charger, registering the handset, and configuring date, time, and display settings. It also covers call functions such as making, receiving, holding, transferring, and conference calls, as well as managing the agenda, call log, and redial list.
Technical data are listed, detailing power requirements, battery type, dimensions, weight, and operating temperature ranges. Safety information, compliance statements, and disposal guidelines are included to ensure proper use and environmental responsibility. This manual is written in Portuguese.
Philips CD170 specifications
| Power supply input | 100‑240 V AC, 50/60 Hz, 200 mA |
|---|---|
| Power supply output | DC 6 V, 500 mA |
| Battery type | GP: PH50AAAHC AAA NiMH 1.2 V 500 mAh |
| Handset weight | 114 g |
| Handset dimensions | 164.45 × 28.25 × 46.15 mm (A × P × L) |
| Operating temperature | 0 °C to 35 °C |
Source: Philips CD170 CD175 User Manual
All Philips CD170 documents by type
Day-to-day operation, settings and troubleshooting. Start here if the product is already set up.
Questions answered in these manuals
Why is no signal bar displayed on the handset?
The handset is out of range; bring it closer to the base station.
What should I do if the handset does not charge?
Check that the batteries are inserted correctly and that the handset is properly placed in the charger.
How do I play a CD?
Press the DISC button, open the tray, place the CD with the label side up, close the tray, and the system will start playback automatically.
How can I play audio from a USB device?
Insert the USB flash drive into the USB port, press the USB button to select USB mode, and the player will play the audio files just like a CD.
How can I register my Philips DVD Micro Theater for support?
Visit www.philips.com/welcome and enter your product model MCD170/98 to register.
How do I set the clock on the remote control?
Press the CLOCK button on the remote and follow the on‑screen prompts to set the time and choose 12‑hour or 24‑hour mode.