
Key facts
- Brand
- Philips
- Model
- MCM240
- Documents
- 3
- Languages
- ES · ZH · EN
- Last added
- 2012-03-06
Start here
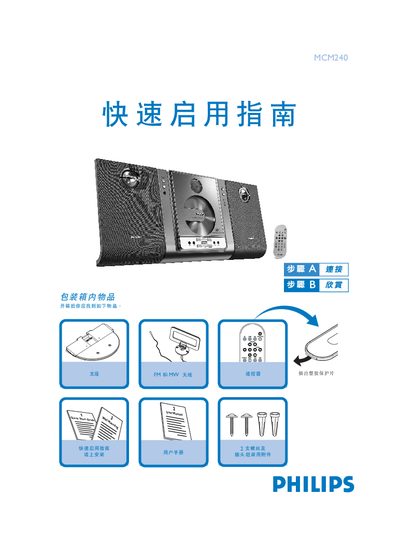
Philips MCM240 Quick Start Guide
The guide lists the items included in the MCM240 package and provides step‑by‑step instructions for wall mounting, antenna attachment, and speaker wiring. It also explains how to connect the power cord and select the appropriate voltage.
After the hardware is installed, the guide shows how to insert a CD, select the source, and control playback, including how to use the remote or front‑panel buttons for play, stop, and preset selection. This manual is written in Chinese.
Philips MCM240 specifications
| Amplifier output power | 2 × 5 W RMS (200 W PMPO) |
|---|---|
| Signal‑to‑noise ratio | ≥ 62 dBA |
| Frequency response | 63 – 16000 Hz ± 3 dB |
| Input sensitivity (AUX) | 0.5 V (max 2 V) |
| Speaker impedance | 4 Ω |
| Headphone impedance | 32 Ω |
| CD player frequency range | 30 – 16000 Hz |
| CD player SNR | 75 dBA |
| FM band range | 87.5 – 108 MHz |
| Standby power consumption | < 7 W |
All Philips MCM240 documents by type
Day-to-day operation, settings and troubleshooting. Start here if the product is already set up.
The shortest path to a working setup, usually only a few pages.
Questions answered in these manuals
How can I set the clock on the MCM240?
In standby or power‑on mode, hold the DISPLAY/CLOCK key on the remote for three seconds, then use the VOLUME (+/‑) keys to adjust hours and minutes, confirming with DISPLAY/CLOCK.
What is the correct way to connect the speakers?
Connect the speaker wires to the SPEAKERS terminals, matching the right speaker to the "RIGHT" terminal and the left speaker to the "LEFT" terminal, observing polarity (+/‑).
How do I connect the speakers?
Connect the right speaker to the "RIGHT" port and the left speaker to the "LEFT" port; the color‑marked wire goes to the "+" terminal and the black wire to the "–" terminal.
What cleaning method should I use for the CD laser head?
Use Philips‑approved CD laser‑head cleaning fluid applied with a soft, slightly damp cloth, following the cleaner’s instructions.