
Key facts
- Brand
- Brother
- Model
- MFC-795CW
- Category
- All-in-one printer
- Industry
- Computers
- Documents
- 4
- Languages
- ZH
- Last added
- 2012-03-16
Start here
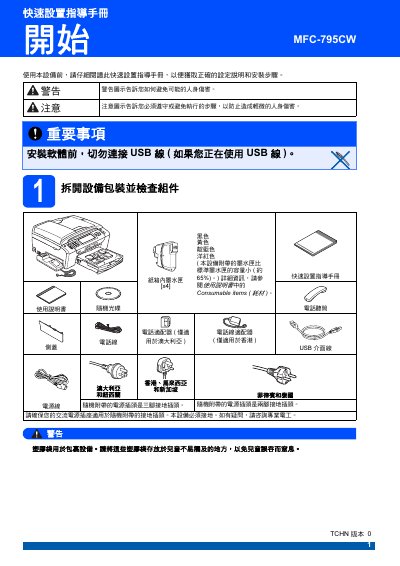
Brother MFC-795CW Quick Setup Service Manual
The guide walks users through unpacking, safety precautions, and initial installation of the MFC‑795CW, including power, telephone line, and paper loading procedures. It also covers ink cartridge installation, initial cleaning, print‑quality checks, and network configuration.
Later sections explain routine maintenance such as replacing consumables, cleaning the print head, and troubleshooting common issues. All instructions are presented with on‑screen prompts and safety warnings to ensure reliable operation. This manual is written in Chinese.
Brother MFC-795CW specifications
| Supported photo paper size | 10 × 15 cm |
|---|---|
| Supported photo paper type | Other photo paper |
| Display language | Chinese (default) |
All Brother MFC-795CW documents by type
Day-to-day operation, settings and troubleshooting. Start here if the product is already set up.
The shortest path to a working setup, usually only a few pages.
Questions answered in these manuals
How do I replace the ink cartridge?
Open the ink‑cartridge cover, press the lock‑release lever, and remove the empty cartridge. Then insert a new original Brother cartridge matching the color indicated on the LCD screen.
What should I do with the device’s packaging and consumables when disposing of it?
Recycle packaging materials with local recycling services, and treat used ink cartridges, circuit boards and electronic parts as electronic waste according to local regulations.
Should the USB cable be connected during the initial setup?
No. The manual states to avoid connecting the USB cable before the initial setup is complete.
Should I connect the USB cable before installing the driver software?
No, do not connect the USB cable to the device before installing the driver software.
How do I connect the phone line?
Insert one end of the phone line into the LINE‑marked jack on the device and the other end into the wall phone socket.