
Key facts
- Brand
- Brother
- Model
- MFC-J6910DW
- Category
- All-in-one printer
- Industry
- Computers
- Documents
- 7
- Languages
- EN · ZH
- Last added
- 2012-03-16
Start here
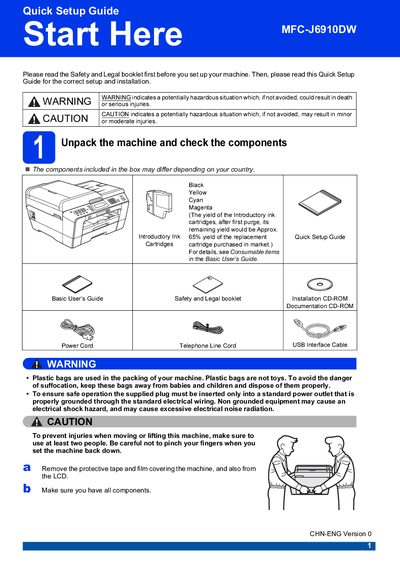
Brother MFC-J6910DW Quick Setup Guide
The Quick Setup Guide walks you through the initial installation of the Brother MFC‑J6910DW printer. It covers safety warnings, unpacking, loading paper, connecting power, telephone line, and network cables, and installing the introductory ink cartridges.
After the hardware setup, the guide explains how to configure paper settings, select a receive mode for fax, and perform a basic print‑quality check. It also provides information on replacement consumables and troubleshooting common setup issues.
Brother MFC-J6910DW specifications
| Ink cartridge models | LC400BK, LC400Y, LC400C, LC400M (High Yield) |
|---|---|
| Network cable requirement | Straight‑through Category5 (or greater) twisted‑pair cable for 10BASE‑T or 100BASE‑TX Fast Ethernet |
| USB cable recommendation | USB 2.0 Type A/B cable, max 2 m length |
All Brother MFC-J6910DW documents by type
Day-to-day operation, settings and troubleshooting. Start here if the product is already set up.
The shortest path to a working setup, usually only a few pages.
Questions answered in these manuals
How do I connect the telephone line to the printer?
Connect one end of the telephone line cord to the socket on the machine marked LINE and the other end to a telephone wall socket.
What type of USB cable should I use for a USB connection?
Use a USB 2.0 Type A/B cable that is no longer than 2 metres.
How can I set the sleep mode timer?
Select the idle time before the device enters sleep mode (1‑60 minutes) in the menu.
How do I enable the Security Feature Lock?
Enter the administrator password and configure the lock via the network browser at the device’s IP address.
Where can I register my Brother MFC-J6910DW?
You can register the product at the Brother registration website.
How can I scan documents directly to a USB memory stick?
Use the PhotoCapture Center to scan to a USB memory stick as described in the scanning section.