
Key facts
Start here
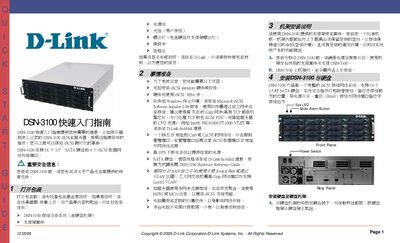
D-Link DSN-3100 Quick Start Guide
This guide walks you through the hardware installation of the DSN-3100, including mounting the chassis, connecting power, and securing the front and rear panels. It also describes the front panel indicators, reset button, and mute alarm button.
Network and software setup steps are covered, showing how to connect the management and data Ethernet ports, configure IP settings, and install required software such as Java Runtime Environment and iSCSI initiator drivers. Contact information for further assistance is provided at the end of the document.
D-Link DSN-3100 specifications
| IOPS | 80,000 per second |
|---|---|
| Maximum Read Throughput | 445 MB/s |
| Drive Bays | 16 hot‑swap SATA slots |
| Supported RAID Levels | 0, 1, 1+0, 5, 10, JBOD |
| System Cache | Up to 2 GB |
| Data Cache | Up to 4 GB (battery protected) |
| Maximum Storage Capacity | 32 TB |
| Host Interface | 4×1000BASE‑T |
| Power Supply | Redundant 500 W ×2 |
| Dimensions | 3U, 13.2 cm H × 44 cm W × 54.8 cm L |
All D-Link DSN-3100 documents by type
Day-to-day operation, settings and troubleshooting. Start here if the product is already set up.
The shortest path to a working setup, usually only a few pages.
Questions answered in these manuals
What RAID levels does the DSN-3100 support?
It supports RAID 0, 1, 1+0, 5, 10 and JBOD.
How many hard drives can be installed in the DSN-3100?
The system provides 16 hot‑swap SATA drive bays.
What cables are needed to connect the DSN-3100 to the network?
Use standard Ethernet cables (Cat5e or Cat6) to connect the data ports and the management port to your network switch or host.