
Key facts
- Brand
- Vaisala
- Model
- PTU300
- Industry
- Industrial
- Documents
- 4
- Languages
- JA · EN · FR
- Last added
- 2012-04-06
Start here
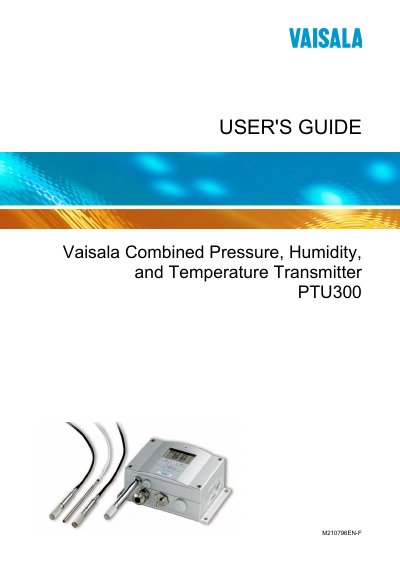
Vaisala PTU300 User Manual
This guide covers all aspects of the PTU300 transmitter, starting with general information and product overview, followed by detailed installation procedures such as standard mounting, wall mounting, DIN‑rail, pole, and rain‑shield options. Wiring diagrams for power, signal, LAN, WLAN, and optional modules are included, along with instructions for configuring the serial and RS‑485 interfaces.
Operational sections describe how to use the display/keypad, set up language, adjust sensor heating, configure MODBUS, and perform calibration and adjustment for pressure, humidity, and temperature. Maintenance, troubleshooting, and technical data—including performance ranges and optional module specifications—are provided to support reliable field use.
Vaisala PTU300 specifications
| Connector type | 8‑pin connector |
|---|---|
| Power supply | 24 VDC |
| Optional heated probe | PTU307 |
| Analog output | Third analog output available |
Source: Vaisala PTU300 User Manual
All Vaisala PTU300 documents by type
Day-to-day operation, settings and troubleshooting. Start here if the product is already set up.
Questions answered in these manuals
What power source is required for the PTU300?
The unit is powered from an AC24 V supply.
How can the PTU300 be mounted?
The transmitter can be mounted using standard mounting without a plate, wall mounting kits, DIN‑rail kits, pole installation kits, rain‑shield kits, or a panel mounting frame.
What communication interfaces are available on the PTU300?
The PTU300 supports LAN, WLAN, RS‑422/485, serial line, USB, and optional data logger modules for communication.
How can I configure the LAN IP address?
The IP address can be set from the display/keyboard or via the serial line as described in the LAN configuration section.
How do I perform a single‑point pressure calibration?
Use the display/keyboard or the serial line to enter the single‑point calibration mode and adjust the pressure setting.