
Key facts
- Brand
- Vaisala
- Model
- HMW50
- Industry
- Industrial
- Documents
- 2
- Languages
- JA · EN
- Last added
- 2012-04-06
Start here
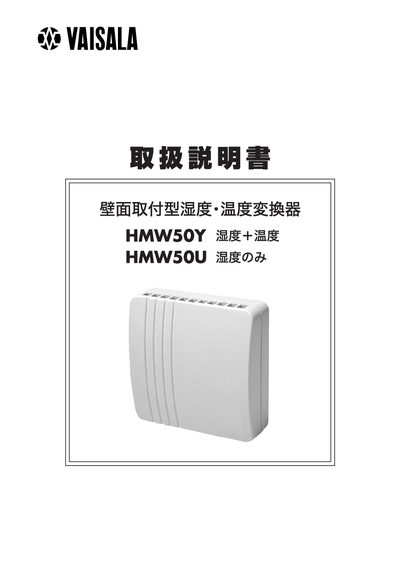
Vaisala HMW50 Sensor Operating Instructions
The HMW50 series includes wall‑mounted humidity and temperature converters (models HMW50Y, HMWSO0U, HMWB50U, HMWBQY, etc.) that measure temperature from -5 °C to 55 °C and humidity from 0 % to 100 % RH. Accuracy is ±0.3 °C for temperature and the device is powered by a DC 2.0‑4.0 V supply, consuming less than 180 mW. The housing is made of ABS resin, weighs about 60 g, and measures 80 × 80 × 26 mm.
Installation involves mounting a plate at roughly 1.5 m height, drilling 3.2 mm mounting holes and 15 mm wiring holes, and securing with M4 screws for metal surfaces or 4 × 10 mm tapping screws for wood or stone. Electrical wiring uses shielded cables, and the output can be configured to 0‑1 V or 0‑10 V according to the controller. This manual is written in Japanese.
Vaisala HMW50 specifications
| Temperature accuracy | ±0.3 °C |
|---|---|
| Humidity measurement range | 0 % to 100 % RH |
| Power supply | DC 2.0 V – 4.0 V |
| Power consumption | ≤180 mW |
| Housing material | ABS resin |
| Weight | ≈60 g |
| Dimensions (W×D×H) | 80 mm × 80 mm × 26 mm |
All Vaisala HMW50 documents by type
Day-to-day operation, settings and troubleshooting. Start here if the product is already set up.
Mounting, wiring and first power-up. Read it before the hardware goes in.
Questions answered in these manuals
What power supply is required for the HMW50?
The device requires a DC power supply of 2.0 V to 4.0 V.
How should the sensor be mounted on the wall?
Mount the plate about 1.5 m above the floor, drill 3.2 mm mounting holes and 15 mm wiring holes, and secure with M4 screws for metal or 4 × 10 mm tapping screws for wood or stone.
How do I know the correct mounting position?
The guide shows a sign pointing upward that indicates the correct mounting position.
What should I do if the air holes become dusty after mounting?
Cover the air holes with the provided cover and remove it when the transmitter is taken into use.