
Key facts
Start here
Epson Stylus Photo 1400 User Manual
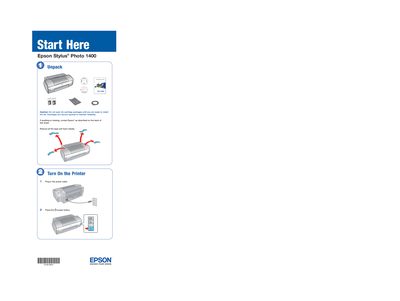
This guide walks you through the initial setup of the Epson Stylus Photo 1400 printer. It covers unpacking, installing ink cartridges, loading paper, and preparing the printer for use.
It also details software installation for Windows and Macintosh systems, offers troubleshooting tips for common issues such as printer noise after cartridge installation, and provides information on obtaining genuine Epson paper and ink.
Epson Stylus Photo 1400 specifications
| Supported Operating Systems | Windows 2000, XP, Vista; Mac OS X 10.2.8‑10.4.x |
|---|---|
| Ink Cartridge Model | 79 Black T079120 |
| Recommended Paper | Ultra Premium Photo Paper Glossy |
All Epson Stylus Photo 1400 documents by type
Day-to-day operation, settings and troubleshooting. Start here if the product is already set up.
Questions answered in these manuals
How do I install the ink cartridges?
Lift up the printer cover, open the cartridge cover, and remove the yellow tape from each cartridge before closing the cover.
What should I do if the printer makes noise after installing ink cartridges?
Wait for the print head to charge for about three minutes; the green power light will stop flashing before you turn the printer off.
How long does it take to charge the ink cartridges after installation?
Charging takes about three minutes.
What should I do if the printer makes noise after installing ink cartridges?
Wait until the print head finishes charging and the green power light stops flashing before turning the printer off.