
This document is a product user manual, which introduces the use of the Epson Stylus ® Photo 1400 printer.
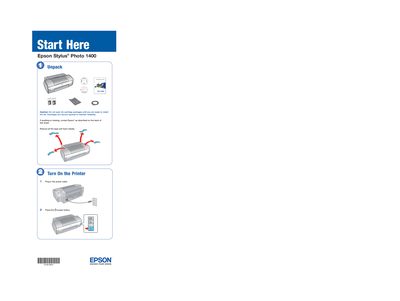
This guide walks you through the initial setup of the Epson Stylus Photo 1400 printer. It covers unpacking, installing ink cartridges, loading paper, and preparing the printer for use.
It also details software installation for Windows and Macintosh systems, offers troubleshooting tips for common issues such as printer noise after cartridge installation, and provides information on obtaining genuine Epson paper and ink.
Lift up the printer cover, open the cartridge cover, and remove the yellow tape from each cartridge before closing the cover.
Wait for the print head to charge for about three minutes; the green power light will stop flashing before you turn the printer off.
Insert the printer Software CD, click Install, and follow the on‑screen instructions to complete the driver and software setup.