
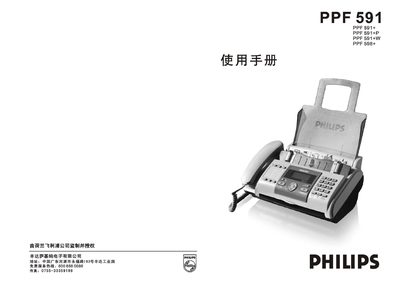
This manual covers the complete setup of the Philips PPF591 fax machine, including unpacking, connecting power and telephone lines, installing the carbon ribbon, and configuring optional USB printing. Detailed installation steps, wiring diagrams, and safety precautions are provided to ensure correct assembly.
The guide also explains how to send and receive faxes, use the built‑in phone functions, adjust settings such as language, date/time, and scanning resolution, and perform routine maintenance and troubleshooting. Technical specifications such as power requirements, environmental limits, and paper capacities are listed for reference. This manual is written in Chinese.
| Power Supply | 220 V / 50 Hz |
|---|---|
| Operating Temperature | 5 °C – 35 °C |
| Operating Humidity | 15 % – 85 % |
| Paper Tray Capacity | 40 sheets |
| Memory Size | 1024 KB |
| Scanning Method | CIS contact image scanner |
| Record Paper Size | A4 (210 mm × 297 mm) |
When the ribbon is exhausted the machine alerts with “换碳带”. Remove the old ribbon, pull the new ribbon through the guide, attach the protective card, and tension the ribbon by turning the blue roller before closing the panel.
Verify that the power cord is plugged in and that the supplied voltage matches the required 220 V / 50 Hz rating.
USB printing is supported only on the PPF591P model. After installing the driver, the fax machine appears as a printer and can be selected for printing.
The device can operate at temperatures between 5 °C and 35 °C and humidity levels from 15 % to 85 %.