
This document provides a quick installation guide for the Wireless-N Ethernet Bridge with Dual-Band, including steps such as inserting the setup CD, connecting the bridge to the router, and connecting the power.
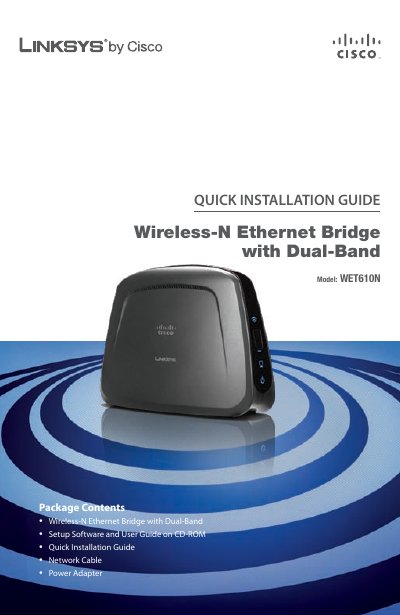
This Quick Installation Guide walks you through connecting the Linksys WET610N Wireless‑N Ethernet Bridge to your router, configuring wireless settings, and moving the device to its final location. It includes step‑by‑step instructions for cable connections, power setup, and security configuration.
The guide also explains how to use Wi‑Fi Protected Setup (WPS) for a fast, button‑press connection and provides troubleshooting tips and support contact information.
Connect one end of the included network cable to the Ethernet port of the Bridge and the other end to a local network port on your router.
Press the WPS button on your router, then within two minutes click Connect on the Setup Wizard screen to establish the wireless link.
Place the Bridge anywhere within your wireless network’s range, plug the power cord into an outlet, and keep the power adapter and network cable handy for future moves.