
The Advantech MIC-1810 startup manual provides hardware specs, installation steps, and I/O details for the embedded automation computer.
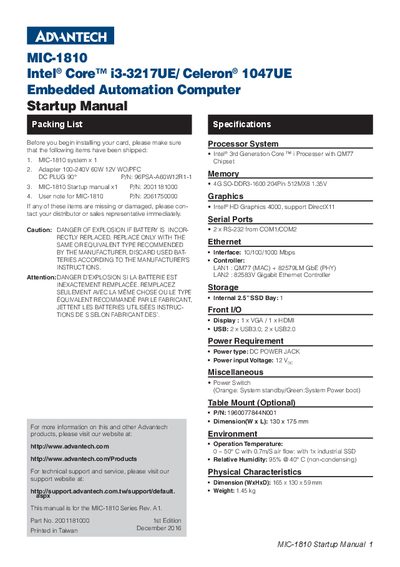
This startup manual introduces the Advantech MIC-1810 embedded automation computer, outlining its key hardware components such as the Intel® 3rd‑generation Core processor, 4 GB DDR3 memory, and dual Ethernet ports. It guides users through unpacking, power connection, and basic configuration.
The document also covers detailed specifications for analog and digital I/O, counter functions, SSD installation, optional table‑mount mounting, and FCC compliance, helping users quickly get the system up and running.
| Processor | Intel® 3rd Generation Core i3‑3217U / Celeron 1047U |
|---|---|
| Memory | 4 GB SO‑DDR3‑1600 204‑Pin 512Mx8 1.35 V |
| Graphics | Intel® HD Graphics 4000 (DirectX11 support) |
| Serial Ports | 2 × RS‑232 (COM1/COM2) |
| Ethernet | 10/100/1000 Mbps (LAN1 QM77 + 82579LM, LAN2 82583V) |
| Storage | Internal 2.5" SSD Bay (1 slot) |
| Dimensions | 165 mm × 130 mm × 59 mm (W × H × D) |
| Weight | 1.45 kg |
| Power Input | 12 VDC |
The package must contain the MIC‑1810 system, a 100‑240 V 60 W 12 V adapter, the MIC‑1810 startup manual, and the user note for MIC‑1810.
Remove the four screws to take off the bottom cover, undo the four SSD screws, connect the SATA and power cables, replace the cover and secure it with four screws.
The analog output channels have 12‑bit resolution, a 500 KS/s update rate, and selectable output ranges of 0‑5 V, 0‑10 V, ±5 V, or ±10 V.
Yes, an optional table‑mount (P/N: 1960077844N001) can be installed by aligning it with the bottom cover and securing it with four screws.