
The document describes the features, functions, settings, and adjustable menus of the LT and MT series remote controls. By clicking on any button on the left remote control, descriptions of menus and functions are displayed. Clicking on menus and submenus shows more detailed descriptions. The document also mentions that the display settings of the projector can be customized and fine-tuned to suit presentation needs, but typically the display is automatically optimized for the current input signal. When any button on the full-function remote control is pressed, the lights on all buttons, except the mouse button, will turn on. If no buttons are pressed within 10 seconds, the lights will automatically turn off, and the menus will also be closed.
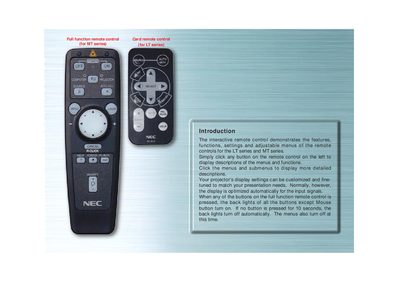
The remote control manual introduces the full‑function and card remote units for NEC's MT and LT projector series. It describes how each button activates menus, adjusts picture settings, and controls projector options.
The guide details the source selection menu, auto‑adjust feature, LED indicators, and the COMPUTER/PJ SELECT button for switching mouse modes. Navigation is performed with the AY buttons, ENTER, and other on‑screen controls.
| Backlight timeout | 10 seconds |
|---|---|
| LED indicator behavior | Flashes when any remote button is pressed |
It automatically adjusts the vertical/horizontal position, clock frequency/phase and resolution if the projected picture is not centered, has vertical stripes, or is flickering.
The backlights turn off automatically after 10 seconds of inactivity.
Press the COMPUTER/PJ SELECT button to toggle between projector mode (lit red) and computer mode.