
This document provides instructions on how to install and use internal rewriters using Nero 7 and LightScribe. It includes installation steps, software updates, printing labels using LightScribe, creating video discs, creating data or audio discs, copying discs, and additional information or help if needed.
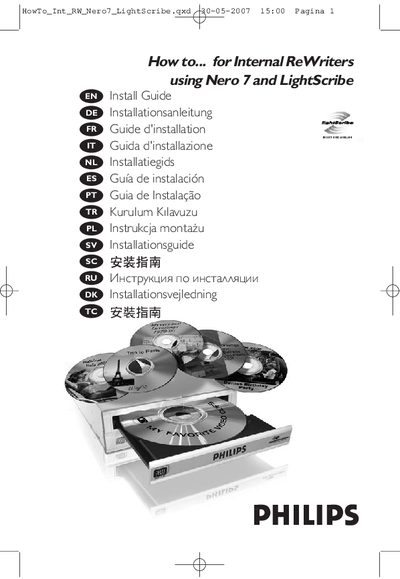
The guide provides step‑by‑step instructions for installing the Nero 7 LightScribe drive, including disconnecting power, opening the computer case, mounting the drive, and setting it as Master or Slave. Safety precautions and wiring details are also covered.
After installation, the manual explains how to use the LightScribe feature to print labels, create video, audio, and data discs, and copy discs. It points to the Philips website for further updates and support.
Disconnect the power cable, open the computer case, mount the drive, and set it as Master or Slave as described in the installation steps.
Use the LightScribe function in the Nero software to print a label, following the instructions in the guide.
Additional information is available on the Philips website at the URLs listed in the manual.