
Key facts
Start here
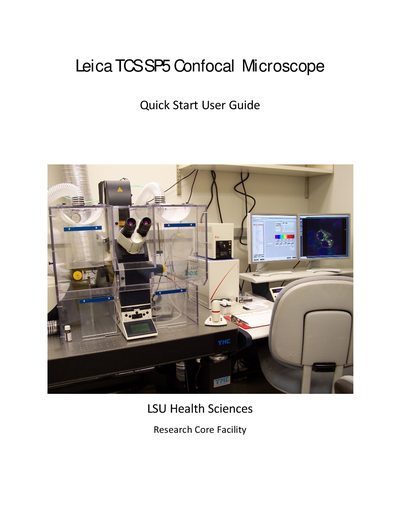
Leica TCS SP5 Confocal Microscope Quick Start Guide
This guide provides step‑by‑step instructions for starting up the Leica TCS SP5 confocal microscope, selecting objectives, turning on lasers, and configuring acquisition settings. It also includes safety reminders, sample mounting tips, and detailed instructions for Z‑stack and time‑course imaging.
The document finishes with shutdown procedures and a brief specifications summary, listing the system’s lasers, objectives, operating system, and environmental chamber features.
Leica TCS SP5 specifications
| Default image format | 512×512 pixels |
|---|---|
| Default scanning speed | 400 Hz |
| Argon laser lines | 488 nm, 568 nm |
| Alternative laser line | 543 nm |
| Z-stack step options | System optimized or user-defined number of steps |
| 3D projection methods | Maximum, Average |
Source: Leica TCS SP5 LAS AF Laser Scanning Confocal Microscope New User Guide
All Leica TCS SP5 documents by type
Day-to-day operation, settings and troubleshooting. Start here if the product is already set up.
How to use the product for one specific task, with worked examples.
The shortest path to a working setup, usually only a few pages.
Questions answered in these manuals
How do I turn on the SP5 system?
Turn on the laser, scan, and computer/Mic buttons on the console.
From: Leica TCS SP5 LAS AF Laser Scanning Confocal Microscope New User Guide
How do I activate specific lasers in LAS AF?
In the Configuration tab, click Laser and check the boxes for the lasers needed for your experiment.
From: Leica TCS SP5 LAS AF Laser Scanning Confocal Microscope New User Guide
How do I start up the Leica TCS SP5 system?
Turn on the mercury lamp power source, then the scanner power, then the laser power, and log in with your user ID and password.
What is the proper shutdown sequence for the microscope?
Save images, shut down the computer, turn off the mercury lamp power supply, turn the laser key counter‑clockwise, switch off scanner power, then switch off the PC/Microscope button and finally the laser power button after a 5‑minute wait.