
Key facts
Start here
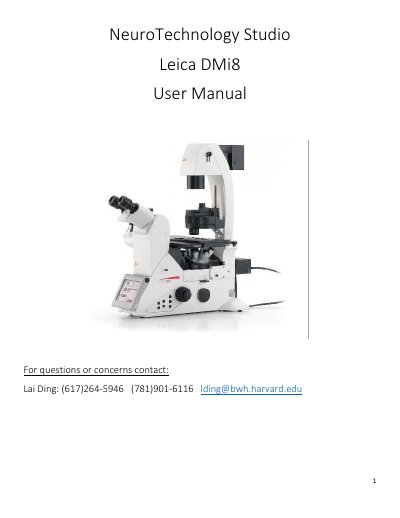
Leica DMi8 Microscope User Manual
This user manual covers the Leica DMi8 microscope and its operation with LAS X software. It explains how to start up the system, log in to a lab account, select cameras, and save images to the correct drive.
Topics include microscope display controls, channel set-up, applying previous settings, the display and acquisition windows, the navigator, objective and camera information, and shutdown procedures.
Leica DMi8 specifications
| Objective magnifications | 5X, 10X, 20X, 40X, 63X (oil), 100X (oil) |
|---|---|
| Numerical aperture | 0.12, 0.45, 0.4, 0.95, 1.4, 1.4 |
| Working distance | 14000um, 2800um, 6900um, 170um, 140um, 90um |
| Fluorescence camera pixel size | 6.5um |
| Color camera pixel size | 2.4um |
All Leica DMi8 documents by type
Day-to-day operation, settings and troubleshooting. Start here if the product is already set up.
Questions answered in these manuals
How to place the sample?
Place the samples with the photoresist cover side facing down.
From: Leica DMi8 Confocal Laser Scanning Microscope Operation Manual
How many micrometers need to be lower than the focal plane?
Turn down the Z position about 7-10 um.
From: Leica DMi8 Confocal Laser Scanning Microscope Operation Manual
Where should images be saved?
Save files to the E: drive “User Images” folder and the corresponding lab folder; do not save under C: or D: drive.
Which camera is used for fluorescence imaging?
The Leica DFC9000GT LEFT camera is for fluorescence imaging, while the DMC5400 RIGHT is for bright field color imaging.