
The Dell Latitude 5580 Quick Start Guide provides instructions on how to connect the power adapter and press the power button, finish operating system setup, connect to a network, and sign in to your Microsoft account or create a local account.
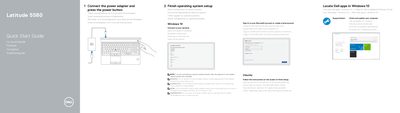
This quick start guide for the Dell Latitude 5580 laptop gives steps to connect the power adapter, press the power button, and finish operating system setup. It covers connecting to a network in Windows 10, signing in to a Microsoft account or creating a local account, Ubuntu setup, and locating Dell apps such as SupportAssist.
The Features page identifies the laptop's ports, buttons, and optional items. These include network, HDMI, VGA, USB 3.0 and DisplayPort over Type-C/Thunderbolt 3 connections, camera, fingerprint reader, smart card reader, and SD card reader. The guide also lists Dell support and contact links and gives the regulatory model P60F and computer model Latitude 15-5580.
| Regulatory model | P60F |
|---|---|
| Regulatory type | P60F001 |
| Computer model | Latitude 15-5580 |
| HDMI port | Yes |
| DisplayPort over Type-C connector / Thunderbolt 3 | Optional Thunderbolt 3 |
| Camera | Optional |
Connect the power adapter and press the power button.
Enter the password for the wireless network access when prompted.
Sign in to your Microsoft account or create a local account.
It checks and updates your computer.