
The NETGEAR R6250 is a smart WiFi router that offers the following features: - Dual-band concurrent speeds up to 1200Mbps - 4 Gigabit Ethernet ports - 1 USB 2.0 port - IPv6 support - Advanced security features - Easy to set up and manage
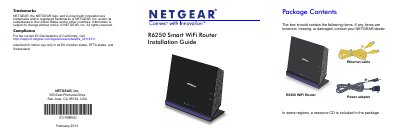
This installation guide for the NETGEAR R6250 Smart WiFi Router explains how to prepare and connect a modem, power on the router, connect a computer, and launch a browser to use NETGEAR genie. It also covers what to do if genie does not display, preset wireless security, and joining the wireless network.
The guide describes accessing the router to change settings and set up password recovery, using ReadySHARE Access for USB storage devices, setting up ReadySHARE Printer, and downloading the NETGEAR genie app. Package contents are listed as the Ethernet cable, R6250 WiFi Router, and power adapter, with a resource CD included in some regions.
| Package contents | Ethernet cable, R6250 WiFi Router, Power adapter |
|---|---|
| LAN ports | Four LAN Ethernet ports |
| USB port | Connect a USB storage device or printer |
| Wireless security | Unique preset WiFi network name (SSID) and network key (password) |
| Default user name | admin |
| Default password | password |
| WPS join window | 2 minutes |
| WiFi LED state after power on | Solid blue |
Use the yellow Ethernet cable that came with the router to connect the modem to the router's Internet port.
The default user name is admin and the default password is password.
They are on the label on the bottom of the product.
Press the WPS button on the router, then within 2 minutes press the WPS button on your wireless computer or device.