
Step‑by‑step guide to share a USB printer over Wi‑Fi using Netgear ReadySHARE on supported routers.
This guide explains how to connect a USB printer to the USB port of a Netgear router and enable wireless printing for Windows and Mac computers on the local network. It lists the compatible router models and provides the required software.
The instructions cover installing the Netgear USB Control Center utility, connecting and disconnecting the printer, adjusting the timeout setting, and using the network scanner feature if the printer supports scanning. This manual is written in Chinese.
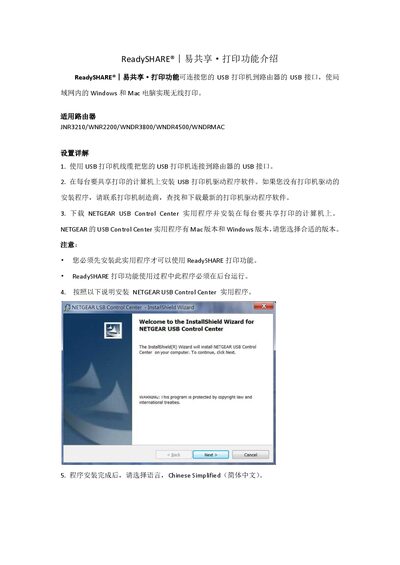
You must install the NETGEAR USB Control Center utility (available for Windows and Mac).
Open the USB Control Center menu, select Tools > Configuration, and adjust the timeout value.
Temporarily disable any firewall software (e.g., Comodo) that may be blocking the ReadySHARE utility.
If the printer supports scanning, ensure it is available and click the Network Scanner button in the utility.