
The Dell™ E-Port II User’s Guide provides information on how to set up and use the E-Port II.
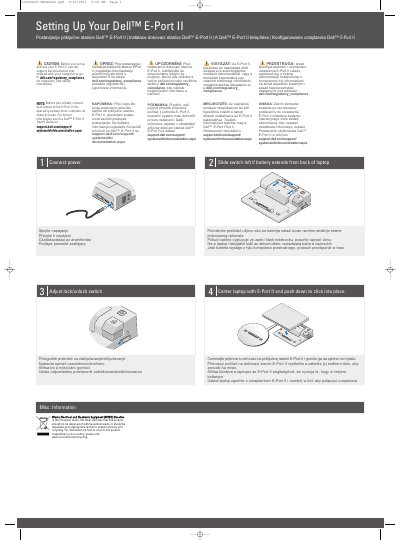
The Dell E-Port II Quick Setup Guide is a short multilingual leaflet that shows how to set up the Dell E-Port II for a laptop. It walks through connecting power, adjusting the lock/unlock switch, sliding the switch left when the battery extends from the back of the laptop, and centering the laptop on the dock and pushing down until it clicks into place.
The second page identifies the dock's parts — battery bar adjuster, alignment mark, battery bar, power button, eject button, security cable slot, lock/unlock switch and docking connector — and its connectors, including network, audio, USB, AC adapter, Display Port, DVI, VGA, USB 2.0/3.0, eSATA and E-Monitor Stand. A WEEE recycling notice is also included.
| Network connector | 1 |
|---|---|
| Audio connectors | 2 |
| USB connectors | 3 |
| USB 2.0/3.0 connectors | 2 |
| Display Port | 1 |
| DVI connector | 1 |
| VGA connector | 1 |
| eSATA connector | 1 |
| E-Monitor Stand connector | 1 |
| AC adapter connector | 1 |
| Security cable slot | 1 |
The operating system must complete its setup process before the laptop is initially connected to the E-Port II.
Center the laptop with the E-Port II and push it down so it clicks into place.
Slide the switch to the left.
The guide points to www.euro.dell.com/recycling for information on recycling the product responsibly.