
This is a quick-start guide for KA-DV300 Network Pack
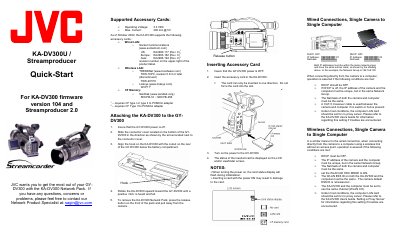
This guide explains how to attach the KA-DV300U network pack to a JVC GY-DV300 camera, insert supported accessory cards, and configure wired or wireless network connections. It includes safety notes, IP‑address settings, and required cable types.
The document also covers installing JVC's Streamproducer software, connecting via the software or a web browser, and determining the streaming URL. Detailed steps for software installation, camera selection, and streaming setup are provided.
| Operating Voltage | 3.3 VDC |
|---|---|
| Maximum Current | 300 mA @ 5V |
| Default Camera IP Address | 192.168.100.101 |
| Default Wireless ESS ID | wireless-lan |
Turn off the camera, slide the connector cover on the bottom, align the hook on the KA-DV300 with the cutout on the camera, rotate the pack until it clicks, and press the release button to remove it.
The KA-DV300U supports wired LAN cards (e.g., EA2900‑117, EA2903‑162, EA2906‑194), wireless LAN cards (e.g., TEW‑16PC, TEW‑201PC, WCF11), and CF memory cards ranging from 16 MB to 256 MB.
Set DHCP to OFF, assign unique IP addresses in the same network group with identical netmask, use a CAT‑5 crossover cable if no switch is present, and disable any proxy on the computer.
Insert the Streamproducer CD-ROM, run Startup.exe, choose English, click “Install Streamproducer”, follow the prompts, and reboot the computer when installation finishes.