
This is the user manual for the Vivitar DVR 940HD digital video camera, which introduces the features and usage of the camera.
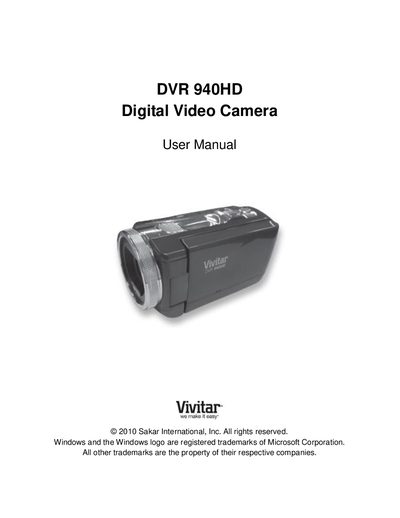
This manual introduces the Vivitar DVR 940HD digital video camera, lists the items included in the package, and describes the camera’s parts, initial battery and memory‑card installation, and how to power the device on. It also explains how to select language, set date and time, and choose camera modes for video and photo capture.
Later sections cover connecting the camera to a TV or HDTV, installing the Vivitar Experience Image Manager software, transferring photos and videos to a computer, routine maintenance, warranty information, and technical support contacts. Troubleshooting tips address common issues such as missing images after transfer.
| SD Memory Card Support | up to 32 GB |
|---|---|
| Battery Type | Lithium Battery (rechargeable) |
| Video Output | HDMI cable included |
| Connectivity Ports | USB / AV / HDMI slots |
| Power Adapter | AC Adapter |
| Memory Card Slot | SD card slot |
| Tripod Mount | Tripod Socket |
Use the USB cable or the Vivitar Experience Image Manager software to download the files; keep the camera powered on and ensure the SD card is inserted so the images are saved and can be transferred.
Make sure the camera stays powered on during the transfer; if the photos are saved to the SD memory card they will appear after a successful download.
The warranty is for one year from the date of purchase and covers repair of defects in material or workmanship at no charge for parts or labor.
Insert the battery, power off the camera, connect it via the USB cable to the AC adapter or a computer; the charge light will turn on when the battery is fully charged.