
This is a user guide for KODAK ESP 5200 Series All-in-One Printer. It contains the components of the product, control panel, Home Center Software, configuration settings, network settings, paper types, paper sizes, printing, etc.
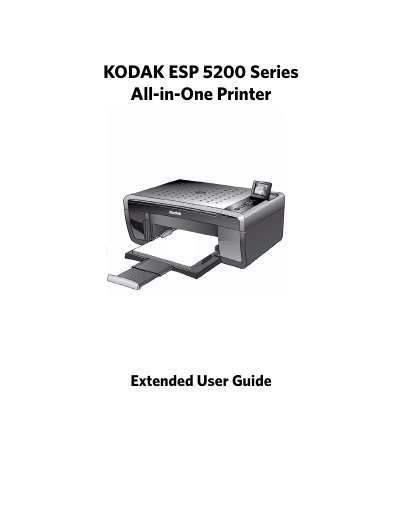
This guide provides step-by-step instructions for using the Kodak ESP 5200 Series All-in-One Printer. It covers printing documents and photos, copying, scanning, connecting to wireless networks, and maintaining the printer. The guide also includes troubleshooting tips and software configuration options for both Windows and Mac OS systems.
The printer features Wi-Fi connectivity, a control panel with LCD display, USB port, and multiple paper tray options. Users can configure settings such as date/time, power-saving mode, and tagged image printing. The guide includes detailed sections for handling different paper types, transferring pictures to computers, and updating printer firmware.
| Print Performance | Not specified in text |
|---|---|
| Photo Printing Features | Not specified in text |
| Copy Document Features | Not specified in text |
| Copy Photo Features | Not specified in text |
| Scanning Features | Not specified in text |
| Paper Tray Features | Not specified in text |
| Ink Cartridges | Not specified in text |
| Connectivity | Wi-Fi and USB |
| Software Support | Home Center Software for Windows and Mac OS |
| Physical Specifications | Not specified in text |
| Warranty | Not specified in text |
| System Requirements | Not specified in text |
| Safety Information | Not specified in text |
| Regulatory Compliance | FCC, Canadian, European, German, REACH Article 33, Waste Electrical and Electronic Equipment, ENERGY STAR® Qualified |
The printer includes KODAK Home Center Software, which allows you to browse, edit, print, scan, and upgrade the printer using your computer.
You can adjust the delay time (in 0.5 hour increments) up to 4 hours. Increasing the delay time may result in reduced energy savings.
You can update the software and firmware using Home Center Software on Windows or Mac OS, or by following the instructions in the guide for each operating system.