
Agilent GC Inlet Maintenance Demo: Replacing the Liner Septum Notes Manual

This document is a video demo notes on replacing the inlet septum, liner, and O-ring. It provides instructions on the replacement steps and the required tools. It also mentions some precautions, such as avoiding damage to the interior of the septum and not overtightening the septum nut.

Agilent GC Inlet Maintenance Demo: Replacing the Liner Septum Notes Manual - cover page
Brand
Agilent
Document type
Service Manual
Language
English
Pages
1
File format
PDF
File size
89 KB
Published
04 July, 2012
Updated
28 September, 2023
MD5 checksum
11797E6671B2B3B566DBC618BF6CEDEF

About this manual

This document provides step-by-step instructions for replacing the inlet septum, liner, and o-ring on a Gas Chromatograph (GC). It lists necessary supplies such as tweezers, new septa, liners, and an inlet wrench. The procedure covers removing the old components, inspecting the gold seal for contamination, installing new parts, and purging the system before heating.

What's inside

  • Supplies you'll need
  • Loosen the Remove the septum retainer nut
  • Use tweezers to remove the septum
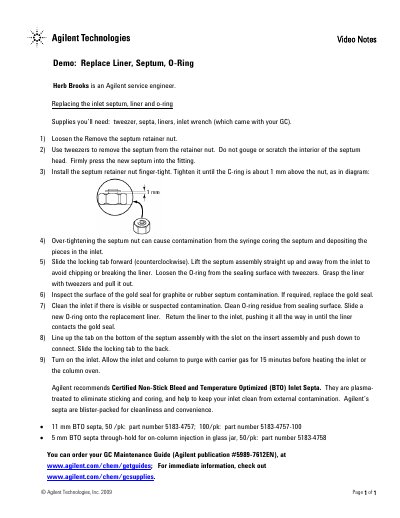
  • Install the septum retainer nut finger-tight
  • Slide the locking tab forward
  • Inspect the surface of the gold seal
  • Clean the inlet if there is visible contamination
  • Return the liner to the inlet
  • Turn on the inlet and purge with carrier gas

Specifications

Recommended Septa TypeCertified Non-Stick Bleed and Temperature Optimized (BTO)
Purge Time15 minutes

Frequently asked questions

What supplies are needed to replace the inlet septum?

You will need tweezers, new septa, liners, and an inlet wrench.

How should the septum retainer nut be tightened?

Tighten it until the C-ring is about 1 mm above the nut.

What should be done before heating the inlet or column oven?

Allow the inlet and column to purge with carrier gas for 15 minutes.

Download PDF (89 KB)

More Agilent Manuals


View all Agilent manuals →