
This document provides an introduction to the usage and configuration of the WGE101 bridge. It includes information about system requirements, operating modes, and default configuration settings.
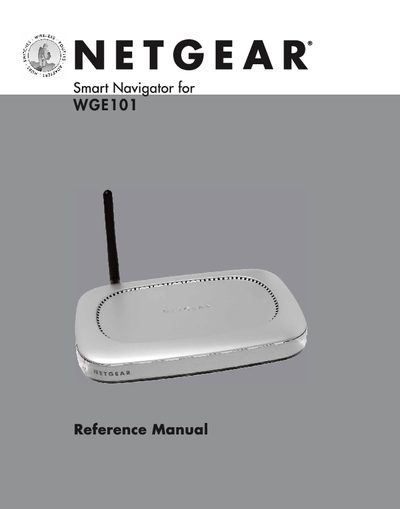
This manual provides step‑by‑step instructions for installing the Smart Navigator software from the WGE101 Resource CD, connecting the WGE101 54 Mbps Wireless Ethernet Bridge to a Windows computer, and using the Smart Navigator to configure basic and advanced settings such as SSID, security, IP address, and country/region.
It also includes troubleshooting tips for common issues, default configuration details, and contact information for NETGEAR technical support.
| Default Mode | Infrastructure |
|---|---|
| Default SSID | Any |
| Default IP address | 192.168.0.201 |
| Default Authentication | Auto |
| Default WEP security | Disabled |
| Default Data Rate | b/g combo |
| Default Country/Region | United States |
Open Smart Navigator, select the bridge, click Advanced Settings, and edit the IP address; alternatively use the browser‑based configuration software on the bridge.
Check that the bridge’s power light is on, verify the Ethernet cable connections, and ensure any switch or hub is powered and properly linked.