
This document introduces AMD RAID BIOS and Windows installation methods, including RAID concept, RAID configuration precautions, Windows installation RAID configuration steps and disk array creation method.
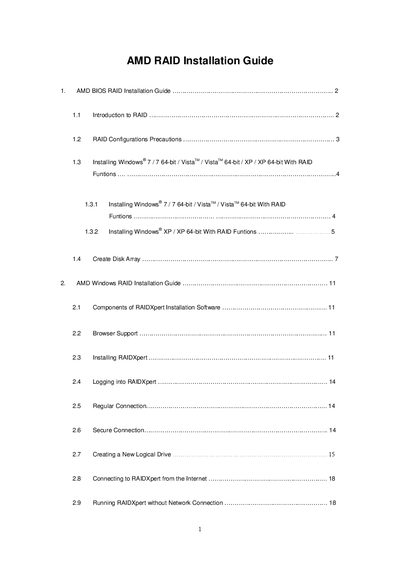
The AMD RAID Installation Guide provides step‑by‑step instructions for enabling RAID mode in the BIOS, creating RAID arrays, and using the AMD RAID Option ROM Utility. It also describes the supported RAID levels, stripe block sizes, and other configuration options.
The document covers installing Windows with RAID, creating single or multiple logical drives, and using the RAIDXpert management software both on‑network and offline. Detailed procedures for driver diskette creation, UEFI setup, and logical drive definition are included.
| Supported RAID Levels | 0, 1, 5, 10 |
|---|---|
| Stripe Block Size | 64 KB |
| Cache Mode | WriteThru |
| Gigabyte Boundary | ON |
| Fast Initialization | ON |
Enter the UEFI Setup Utility, go to the Advanced screen, select Storage Configuration, and set the “SATA Mode” option to [RAID].
Press Ctrl+F to open the RAID Option ROM Utility main menu, choose “Define LD”, select the desired RAID level, assign drives, and press Ctrl+Y to save the configuration.
The RAID configuration allows a stripe block size of 64 KB or 128 KB, selectable from a dropdown menu.
Yes. Choose “Work Offline” in RAIDXpert, then log in; the software will operate locally on the host PC.