
AVIO Smart Projector iP Viewer Quick Start Guide, introduces how to use iP Viewer software to save and project OHP images, computer screens and files, and how to process captured files.
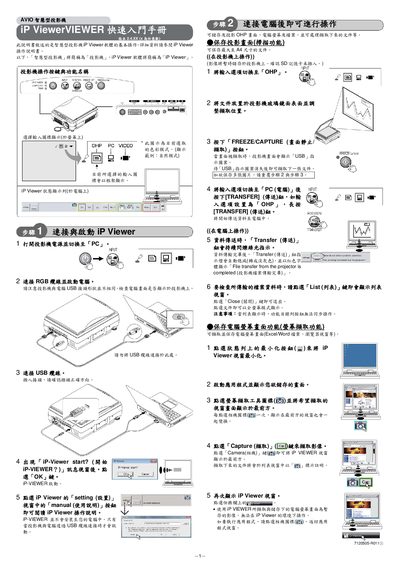
This guide shows how to power on the IP Viewer projector and start the device. After turning on the projector, the iP‑Viewer start screen appears and you can confirm with OK.
It also covers selecting input sources such as PC, OHP or video, using the USB mass‑storage mode, capturing documents, and transferring files to a computer. Detailed steps for saving files to an SD card and managing the file list are included. This manual is written in Chinese.
| Supported input | PC, OHP, Video |
|---|---|
| USB storage mode | Supported |
Turn on the projector power and press OK when the iP‑Viewer start screen appears.
Press the Transfer button; when the transfer finishes, a message "File transfer from the projector is completed" is shown.
Use the Capture function by pressing the Capture key; the displayed document is saved as an image file.