
RFX9600 User Guide, introducing the installation, connection and use of the product
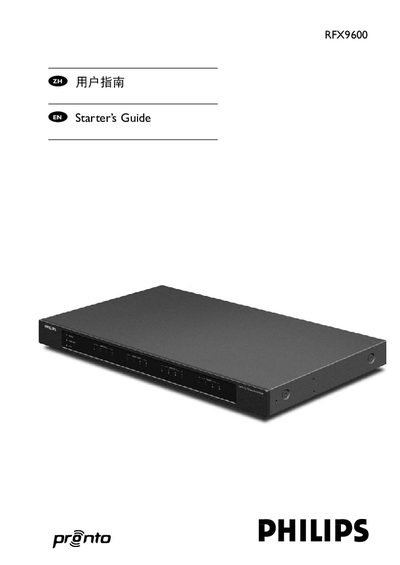
This guide explains how to install the RFX9600 Serial Extender in a rack or free‑standing position, connect it to power, Ethernet, IR emitters, RS‑232 devices and other A/V equipment, and configure it using the ProntoEdit Professional tool. It also covers safety warnings, wiring details, and the accessories included with the extender.
The manual includes sections on sensor input usage, relay control connections, firmware updates, and a full specifications table. Fault types, LED indicators, and reset procedures are described to help technicians diagnose and resolve issues in a Pronto home‑automation network. This manual is written in Chinese.
| Power Input | 5 V DC |
|---|---|
| IR Addressable Outputs | 4 |
| Ethernet Interface | RJ45 |
| RS‑232 Ports | 4 standard ports |
| Power‑Sense Inputs | 4‑30 V DC or AC RMS |
| Relay Outputs | 48 V DC/AC, 2 A (max 60 W) |
| Operating Temperature | 32 °F to 122 °F (0 °C to 50 °C) |
| IR Frequency Range | 25 kHz – 1 MHz |
| IR Power Output Levels | Normal 25 mA, Low 10 mA |
A system can contain up to 16 extenders and 16 control panels.
The extender requires a 5 V DC power input.
Three LEDs show Power, Ethernet, and Busy status; additional LEDs indicate IR output, RS‑232 output, power‑sense input, and relay output.