
Key facts
Start here
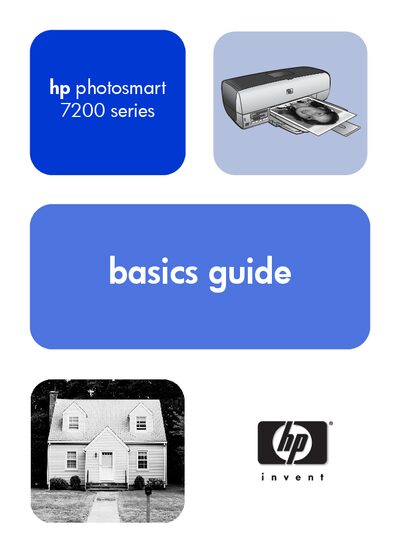
HP Photosmart 7200 Series Basics Guide
The Basics Guide introduces new owners to the HP Photosmart 7200 Series printer, explaining how to get started, identify printer components, and use basic functions such as printing from memory cards and the direct‑printing port. It also provides safety information and references to the full HP Photosmart Setup Guide for more detailed instructions.
The guide is organized into sections on getting started, printer parts, control panel buttons, memory card slots, paper loading, print cartridge installation and calibration, printing options (4 × 6 photos, photo collages, camera‑selected images), the HP Photosmart Assistant, direct‑printing from a digital camera, specifications, recommended paper, and troubleshooting.
HP 7200 series specifications
| Connectivity | Standard USB front and back ports |
|---|---|
| In tray capacity | 25 sheets of photo paper |
| Supported operating systems | Windows 98, 2000 Professional, ME, XP Home, XP Professional |
| Image file formats | JPEG Baseline, TIFF 24‑bit RGB uncompressed, etc. |
All HP 7200 series documents by type
Day-to-day operation, settings and troubleshooting. Start here if the product is already set up.
Questions answered in these manuals
How can I view the HP Photosmart Printer Help on a Windows PC?
Open the Start menu, go to Programs → Hewlett‑Packard → Photosmart series → Photo & Imaging Director, then click Help.
How do I connect the HP Photosmart printer to a network?
Connect an Ethernet cable from the printer’s Ethernet port on the back to a router, switch, or hub, then install the HP software to configure the network connection.
How can I change the connection from USB to Ethernet?
Unplug the USB cable from the back of the printer, then plug an Ethernet cable into the printer’s Ethernet port and follow the network setup steps in the manual.