
This file is the quick start guide of CEM210 car audio, introduces the parts of the product, connecting cables, installation methods, etc.
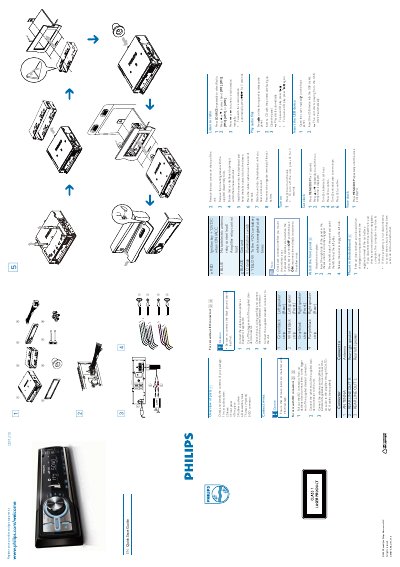
This Quick Start Guide walks you through unpacking the CEM210 car audio system, identifying each component, and preparing the vehicle for installation. It includes wiring diagrams, connector details, and safety cautions.
Key procedures cover mounting the unit in the dashboard, connecting power and audio wires, setting the clock, and using the radio, CD, and USB functions. Follow the step‑by‑step instructions to get the system up and running quickly.
| Power Supply | 12 V DC |
|---|---|
| Connector Type | ISO connector |
Remove the two screws on the top of the unit, take out the mounting sleeve, insert it into the dashboard opening, place the rubber cushion, slide the unit in until it clicks, then reconnect the battery.
Press MENU/DISP for 3 seconds, then use the 3 or 4 button to display the time, turn the knob clockwise to set the hour and anti‑clockwise to set the minute.
Press the SOURCE button repeatedly until the radio display appears, then press 3 or 4 to select the desired band (FM1, FM2, FM3, AM1, or AM2).