
The ACS100/140 NEMA1/IP21 Enclosure Kit provides a NEMA1/IP21 housing for the ACS100 and ACS 140 IP20 protected chassis units. The NEMA1/IP21 enclosure kit consists of a metal back plate with a conduit plate and a plastic cover. Additionally the kit includes parts that are needed if an optional RFI-filter is used. The drive heatsink is flange mounted to the back plate so that the heatsink fins are outside the enclosure. The assembled NEMA1/IP21 drive unit can be mounted to a vertical surface using a DIN rail or the mounting holes and slots in the heatsink.
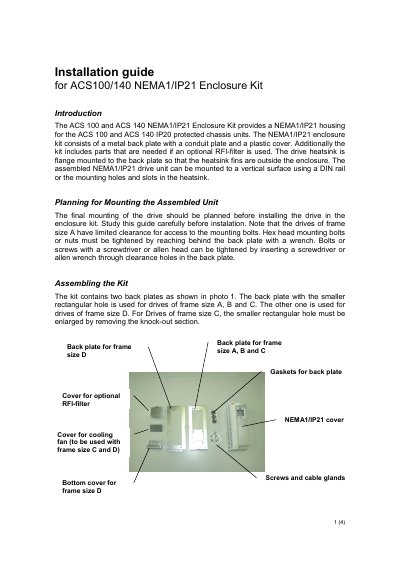
The ACS100/140 NEMA1/IP21 Enclosure Kit provides a metal back plate, conduit plate, plastic cover and optional RFI‑filter components for the ACS 100 and ACS 140 drive units. The kit supports mounting on a vertical surface via a DIN rail or the heatsink mounting holes.
The guide walks you through removing the original drive cover, inserting the heatsink, fastening it with M4 screws, mounting the assembled unit, and installing the final cover and control panel. Special instructions are included for frame sizes C and D, which use a cooling‑fan cover.
| Enclosure rating | NEMA1/IP21 |
|---|---|
| Mounting options | DIN rail or heatsink mounting holes |
| Fastening screws for heatsink | M4 |
Press the four snap‑on buttons in the top and bottom corners and pull the cover forward.
The heatsink flange is secured with M4 screws.