
This quick start guide provides instructions on how to install and connect the Lenovo M710 multifunction printer.
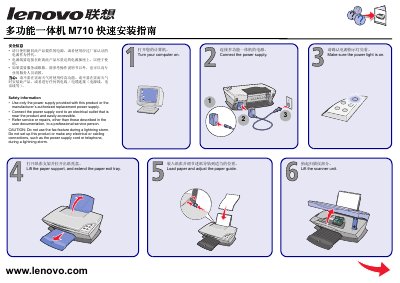
This guide provides step‑by‑step instructions for powering on the Lenovo M710 all‑in‑one, loading paper, installing print cartridges, and connecting the device to a computer via USB and the supplied software CD. Safety precautions are highlighted, including proper power‑supply use and warnings about operating the fax function during lightning storms.
Follow the on‑screen prompts after connecting the USB cable, and cancel any "Add New Hardware" dialogs that appear. After installation, verify that the power indicator is lit and the scanner unit is closed before beginning regular use. This manual is written in Chinese.
Use only the power supply that came with the product or an authorized replacement, and plug it into a nearby accessible outlet.
No. Do not use the fax function or make any electrical connections during a lightning storm.
Click Cancel on all "Add New Hardware" screens.