
A step-by-step guide for using the Touch Tablet Module in Apex v5 Pro, covering drawing tools, number pad shortcuts, and UI changes.
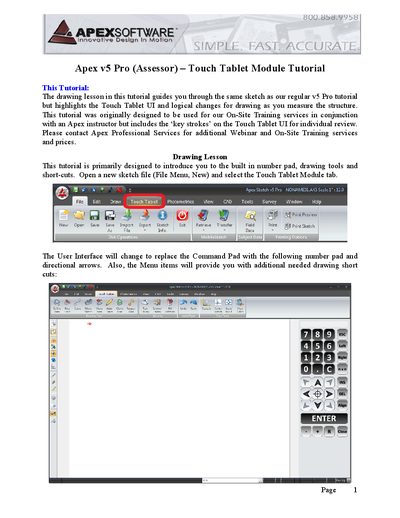
This tutorial provides a step-by-step guide to using the Touch Tablet Module of the Apex v5 Pro Assessor. It focuses on drawing tools, the built-in number pad, and shortcuts for creating sketches, highlighting user interface changes when the module is active. The guide was originally designed for On-Site Training services but includes key strokes for individual review.
When drawing in this mode, Apex automatically switches from manual to automatic dimension placement so dimensions anchor without requiring a second tap.
After defining an area, press the [Enter] button on the number pad while in Pen Up mode to establish your Point of Beginning.
Enter the vertical rise and horizontal run measurements consecutively without pressing Enter between them, then press Enter to draw.