
This guide describes how to configure and control the VG4-100 Series AutoDome camera
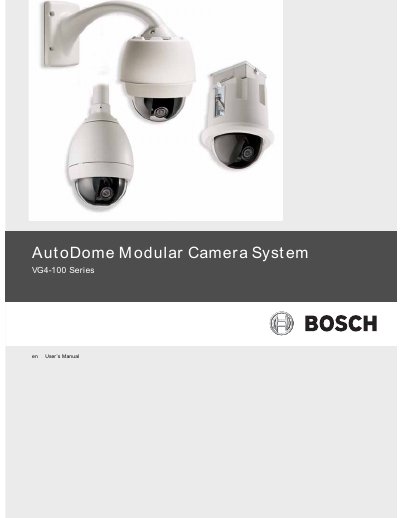
This manual guides operators through the installation, wiring, and basic operation of the VG4-100 Series AutoDome camera. It covers getting started, camera setup, and safety notices.
Key sections include positioning the camera (pan, tilt, diagonal adjustments), adjusting focal length and focus, accessing menus, configuring network settings, and troubleshooting. An index and glossary help locate information quickly.
| Pan rotation range | Up to 360° |
|---|---|
| Tilt rotation range | Up to 110° |
| Diagonal rotation range | Up to 300° |
| Monitor jack type | 2.5 mm miniature jack |
| Monitor output type | Composite video signal |
| Zoom adjustment method | Loosen focal (zoom) lock screw and rotate lens to WIDE or TELE |
| Focus adjustment method | Loosen focus lock screw and turn lens to NEAR or FAR until image is in focus |
Remove the dome bubble and covert liner, then locate the miniature 2.5 mm monitor jack on the camera circuit board; it provides a composite video signal.
Loosen the thumbscrew at the platform base and rotate the camera left or right; the camera can rotate up to 360° between stops.
Loosen the focal (zoom) lock screw and rotate the lens mechanism to the WIDE or TELE position until the desired field of view is achieved.
Loosen the focus lock screw and turn the lens mechanism to NEAR or FAR until the image appears sharp on the monitor, then tighten the screw.