
This document describes the installation method of D-Link DSL-584T ADSL2+ Router. It covers the items to check before installation and how to connect the router to your computer and network.
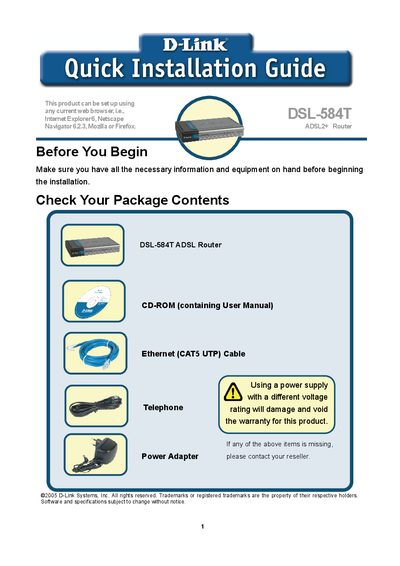
This guide walks you through unpacking the DSL-584T router, connecting power, Ethernet and telephone cables, and verifying the status LEDs. It also explains how to reset the device to factory defaults.
The document then details two configuration methods: using the D‑Link Click’n Connect utility on a PC or accessing the router’s web‑based setup wizard via a browser. It covers selecting a time zone, choosing the WAN connection type (PPPoE, DHCP, static IP, or bridge), and completing the setup wizard steps.
| Power input voltage | 12V~1.28 |
|---|---|
| Ethernet port speed | 10/100 BASE‑TX |
| Supported ADSL standard | ADSL2+ |
Connect the power adapter to the router’s rear panel and plug it into a wall outlet; the Power LED will turn on to indicate proper operation.
Press the Reset button on the rear panel; this restores all settings to the factory default values.
Click the Run Wizard button, then follow the three steps: choose your time zone, set the Internet connection type, and restart the router.