
VIA RAID installation guide, introduces how to configure RAID function in BIOS and Windows environment
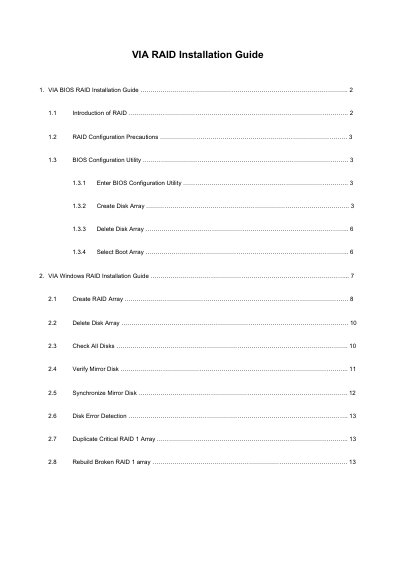
The guide explains how to set up RAID functions using the VIA VT8237 south‑bridge chipset. It covers BIOS‑level configuration, including entering the BIOS utility, creating, deleting, and selecting boot arrays for RAID 0, RAID 1, and JBOD, as well as the required precautions such as using identical drives.
It also details the Windows‑based RAID software, showing how to create and delete arrays, check disk status, synchronize mirror disks, detect errors, and rebuild broken RAID 1 arrays. The document provides warnings about data loss during array creation and offers troubleshooting steps for common RAID issues.
| Supported RAID levels | RAID 0, RAID 1, JBOD |
|---|---|
| Number of SATA channels | 2 independent SATA channels |
| Block size options | 4 KB to 64 KB |
| Drive recommendation | identical drives of same model and capacity |
After the system powers on, press the Tab key to open the BIOS configuration utility.
A warning message informs you that the content of the hard drive will be destroyed after array creation.
Select RAID 1, right‑click it, and choose “Synchronize Mirror” to make the source and mirror disks identical.
It shows that the mirror disk is not identical to the source disk and needs to be synchronized.