
Step-by-step instructions for printing legal-size paper on the OKI MPS 3537 from the main tray or the bypass tray, with driver and touch screen settings.
This short guide explains how to print on legal paper with the OKI MPS 3537. It covers two routes: feeding legal paper from the standard main tray, and feeding it from the bypass tray. For each route it lists the tray adjustments, the printer settings and the steps in Adobe Acrobat Reader DC.
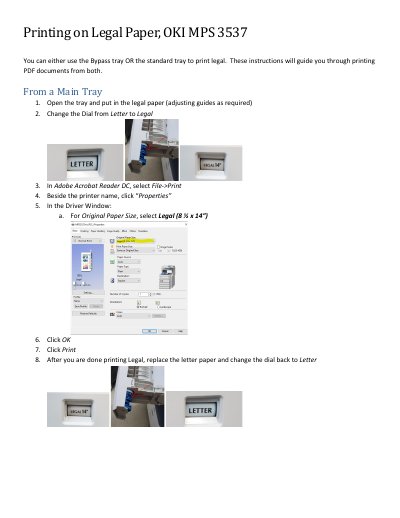
From the main tray, the user opens the tray, adjusts the guides, changes the dial from Letter to Legal, then selects Legal (8 ½ x 14”) as the Original Paper Size in the printer driver before printing, and sets the dial back to Letter afterwards. From the bypass tray, the user inserts the paper, pushes the blue lever, sets “LG” for Original and Copy on the touch screen if it is not already shown, prints from Acrobat Reader DC, and then selects the bypass tray on the copier and presses the green PRINT button.
| Legal paper size | Legal (8 ½ x 14”) |
|---|
Open the tray, insert the legal paper and adjust the guides, then change the dial from Letter to Legal. In Adobe Acrobat Reader DC open Properties and select Legal (8 ½ x 14”) as the Original Paper Size before clicking Print.
If “LG” is not showing for the bypass tray, touch the Bypass tray on the touch screen and select “LG” for both Original and Copy, then touch OK.
Push the blue lever on the right of the bypass tray towards the left side to pop the paper up to the feed rollers.
The Status touch button blinks; select it, then select the Bypass tray and press the green PRINT button.