
This guide details the wiring termination, installation, and calibration procedures for the Innovate Motorsports LC-1 wide band oxygen sensor, specifically…
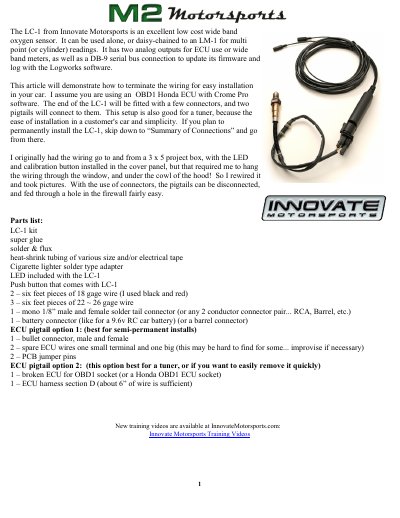
This document provides step-by-step instructions for terminating the wiring of the Innovate Motorsports LC-1 wide band oxygen sensor. It covers creating ECU pigtails for OBD1 Honda ECUs using Crome Pro software, assembling the power adapter with an LED, and connecting the sensor's analog and heater circuits. The guide includes parts lists and specific soldering instructions for both semi-permanent and removable installation options.
| Product Type | Wide band oxygen sensor |
|---|---|
| Connector Type | DB-9 serial bus connection |
| Wiring Gauge | 18 gage and 22 ~ 26 gage wire |
Connect the sensor, calibration wire, and power plug pigtails, plug in the power, and turn on the key until the LED blinks, then follow manufacturer instructions.
You can let the car sit for hours, turn the key to Accessory, wait for the heater to warm the sensor, and push the button, or use the Rolling Free Air Calibration method on a hill.
The Yellow Analog 1 wire connects to OBD1 ECU pin D-14.