
The CoolMay MT series touch screen user manual provides installation, configuration, and operation instructions for the MT60 and MT90 models.
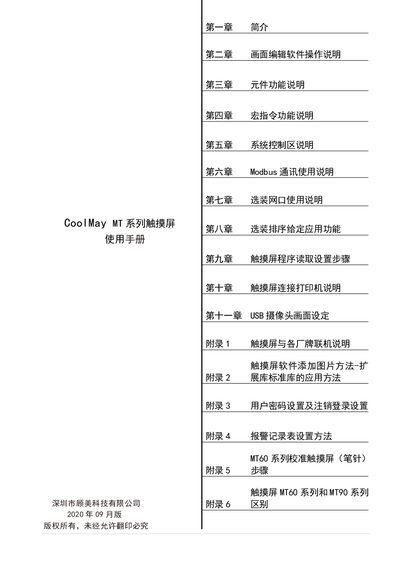
This manual introduces the CoolMay MT series human‑machine interface products, describing their hardware specifications, supported PLC brands, and key features such as Modbus communication, macro instructions, and optional Ethernet ports. It also explains how to install the CoolMay HMI software, edit screens, and download programs via USB, U‑disk, or network.
Detailed chapters cover component functions, system control settings, Modbus and Ethernet configuration, printer and USB camera setup, as well as extensive appendices on interfacing with other manufacturers, password management, alarm record tables, calibration procedures, and the differences between the MT60 and MT90 series. This manual is written in Chinese.
| Display type | 3.5" TFT |
|---|---|
| Resolution | 320×240 |
| Brightness | 300 cd/m² |
| Contrast | 400:1 |
| Touch type | 4‑wire resistive |
| CPU | ARM9 400 MHz (H series) |
| Operating system | WINCE 5.0 (H series) |
| USB host port | USB 2.0 ×1 |
| Serial ports | 1 × RS232, 1 × RS485 |
| Input voltage | 12‑24 VDC ±10 % |
| Power consumption | 100 mA @ 24 V |
| IP rating | IP65 (front panel) |
| Operating temperature | 0 °C ~ 50 °C |
| Storage temperature | -20 °C ~ 70 °C |
| Relative humidity | 20 % ~ 90 % RH |
The MT series supports PLCs from Mitsubishi, Omron, Panasonic, Siemens, Modbus RTU/ASCII/TCP, LG, Delta, Fatek, Vigor and other manufacturers.
Long‑press the crosshair until the calibration prompt appears, then follow the sequence: long‑press center, left‑top, left‑bottom, right‑bottom, right‑top to complete calibration.