
The Dell™ E-Port Plus User’s Guide provides information on how to set up and use the E-Port Plus.
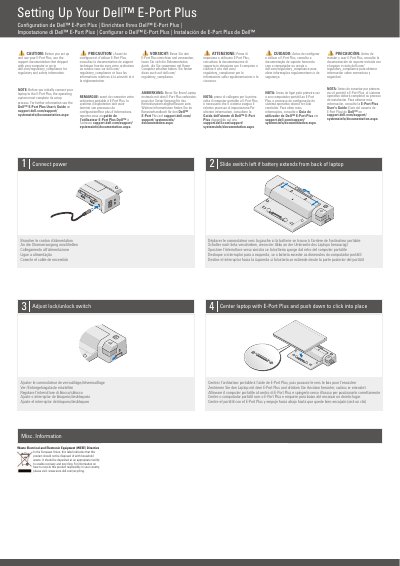
This two-page Dell E-Port Plus Quick Setup Guide walks through the basic setup of the dock in four illustrated steps: connecting power, sliding the switch left when the laptop battery extends from the back, adjusting the lock/unlock switch, and centering the laptop on the E-Port Plus and pushing it down until it clicks into place. A note advises that the operating system must finish its setup process before the laptop is connected for the first time.
The second page labels the parts of the dock, including the battery bar adjuster, alignment mark, power button, eject button, security cable slot, lock/unlock switch and docking connector, and names the connectors on the back, such as network, parallel, DVI, audio, USB, AC adapter, DisplayPort, VGA, serial, PS/2, eSATA and E-Monitor Stand. A short WEEE recycling notice and Dell copyright information close the document. All instructions are repeated in French, German, Italian, Portuguese and Spanish.
| DVI connectors | 2 |
|---|---|
| DisplayPort connectors | 2 |
| Audio connectors | 2 |
| USB connectors | 3 |
| USB connectors | 2 |
| PS/2 connectors | 3 |
Center the laptop with the E-Port Plus and push it down until it clicks into place.
Slide the switch left if the battery extends from the back of the laptop.
The operating system must complete its setup process first.