
This document provides instructions for installing a Hitachi Deskstar hard drive, including installation steps, preparation work and precautions
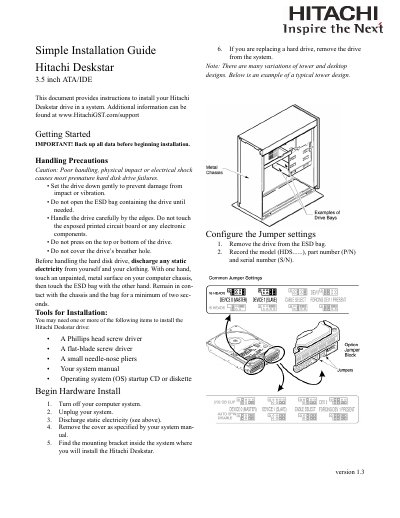
The guide begins with handling precautions, advising users to back up data, discharge static electricity, and avoid touching the drive's circuit board or breather hole. Required tools such as Phillips and flat‑head screwdrivers, needle‑nose pliers, and the system manual are listed.
Installation steps cover removing the computer cover, mounting the drive, setting jumper positions for Master or Slave, attaching the ATA/IDE data and power cables, and verifying BIOS detection before proceeding with OS installation.
| Form factor | 3.5 inch |
|---|---|
| Interface | ATA/IDE |
Set the drive down gently, avoid touching the PCB, and keep the breather hole uncovered.
Set the jumper to Device 0 (MASTER) when the Deskstar is the only drive on the cable.
Confirm the drive is recognized in the System BIOS before proceeding with OS installation.