
This document provides instructions for installing a scanner and includes information about the accompanying software and accessories.
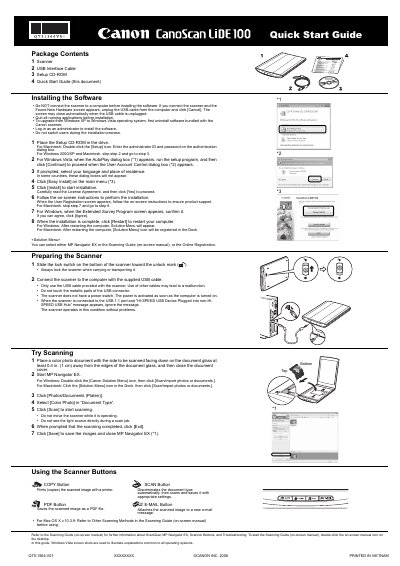
This guide walks you through installing the bundled software before connecting the scanner, preparing the device, and performing your first scan. It includes step‑by‑step instructions for Windows and Macintosh, as well as safety and legal notices.
After setup, the guide explains how to place documents on the glass, select scan settings, and use the four scanner buttons (COPY, SCAN, PDF, E‑MAIL). The specifications section lists the flatbed scanner’s sensor type, resolution options, power requirements, and physical dimensions.
| Scanner Type | Flatbed |
|---|---|
| Sensor Type | CIS (Color Contact Image Sensor) |
| Light Source | 3‑color (RGB) LED |
| Optical Resolution | 2400 × 4800 dpi |
| Selectable Resolution | 25‑19200 dpi (ScanGear) |
| Interface | Hi‑Speed USB 2.0 |
| Scanner Buttons | COPY, SCAN, PDF, E‑MAIL |
| Power Requirements | Supplied via USB port (no external adapter) |
| Power Consumption (operation) | 2.5 W max |
| Exterior Dimensions | 250 × 370 × 40 mm |
| Model Name | K10317 (CanoScan LiDE 100) |
Insert the Setup CD‑ROM, run the installer, and follow the on‑screen prompts before connecting the scanner.
Use the supplied USB cable to connect the scanner; do not use any other cable.
The scanner supports selectable resolutions from 25 dpi up to 19200 dpi via ScanGear.
The device is powered through the USB port and does not require an external power adapter.