
This manual provides an overview of the Altivar 71 variable speed drive, including installation steps, precautions, and more.
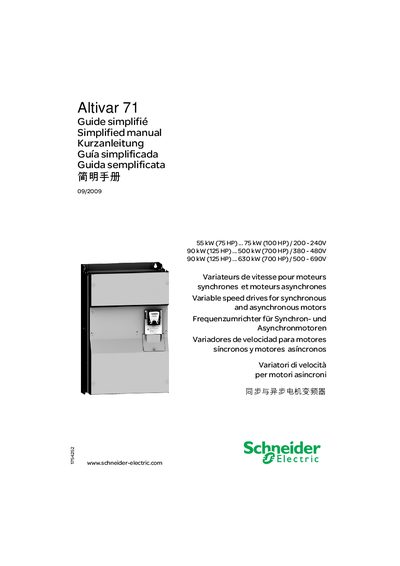
The Simplified Manual provides step‑by‑step guidance for installing, wiring, and commissioning the Schneider Altivar 71 variable speed drive. It includes safety warnings, preliminary recommendations, and instructions for mounting the drive, DC inductance, and optional transformers.
Key sections cover the selection of supply voltage, connection diagrams, electromagnetic compatibility, menu configuration (SIMPLY START), fault diagnosis, and maintenance procedures. The document emphasizes the need to cut power and lock circuit breakers before any service work and explains the Power Removal safety function.
| Power rating (200‑240 V) | 55 kW (75 HP) to 75 kW (100 HP) |
|---|---|
| Power rating (380‑480 V) | 90 kW (125 HP) to 500 kW (700 HP) |
| Power rating (500‑690 V) | 90 kW (125 HP) to 630 kW (700 HP) |
Before any maintenance or repair, the drive must be de‑energised, the circuit breaker or disconnect must be locked open, and the DC‑bus voltage must be verified to be below 45 V.
Mount the inductance chassis on the wall above the drive, secure it with the supplied screws, then connect the inductance between the PO and PA/+ terminals and attach the grounding braid to the chassis.