
Key facts
- Brand
- Moza
- Model
- Air2
- Industry
- Electronics
- Documents
- 3
- Languages
- EN · ZH
- Last added
- 2026-11-03
Start here
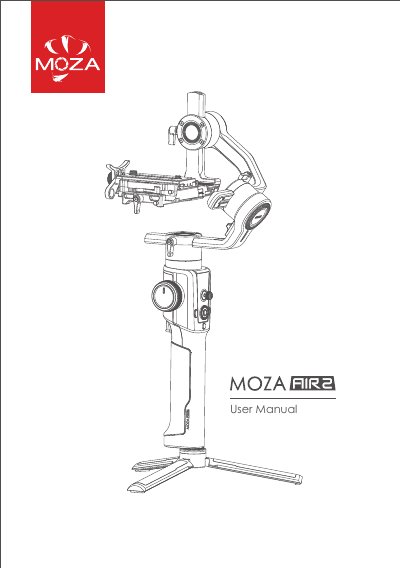
MOZA Air 2 Gimbal Stabilizer User Manual
This manual provides step-by-step instructions for installing and operating the MOZA Air 2 gimbal stabilizer. It covers attaching the tripod, installing batteries, mounting the camera, connecting control cables, and installing support rods and riser plates. The guide also explains how to balance the tilt, roll, and pan axes, use the OLED display and buttons, and connect via smartphone or computer for configuration and firmware upgrades.
Additional sections cover features like follow mode, FPV, sport gear mode, manual positioning, button customization, and sensor calibration. The manual includes language switching, user configuration management, and troubleshooting tips for balance and calibration issues.
All MOZA Air2 documents by type
Day-to-day operation, settings and troubleshooting. Start here if the product is already set up.
Questions answered in these manuals
How do I enter FPV mode?
Triple press the Fn button to enter FPV Mode. Triple press again to exit.
From: MOZA Air2 User Manual
What button must be pressed to enter FPV mode on the MOZA Air2?
Triple press the Fn button to enter the FPV Mode.
From: MOZA Air2 User Manual
What screw hole sizes are available on the Air 2 for mounting?
The bottom of the Air 2 features a 1/4" screw hole and a 3/8" screw hole.
How many camera control cables are included with the Air 2?
The unit comes with four camera control cables stored in the accessory bag.
How do I balance the camera on the Air 2?
Mount the camera, then adjust the quick release baseplate forward or backward until the lens points forward, then tighten the knob.
How do I upgrade the firmware on the Air 2?
Turn off the gimbal, long press the Menu, press the power button until ‘Boot Mode’ appears, connect via USB Type-C, and press the ‘Upgrade’ button.