
This Dell W-AP103 installation guide provides step‑by‑step setup, wiring, LED indicators, PoE support, and regulatory information.
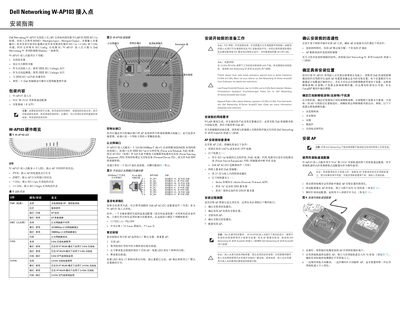
The guide explains the hardware overview of the W‑AP103, including its four status LEDs, Ethernet port with PoE, DC power input, and reset button. It also details safety and regulatory compliance for FCC, CE, and RoHS.
Installation instructions cover pre‑installation checks, mounting options with ceiling rail adapters, cable routing, and connection of the console port. After mounting, the guide describes how to verify power and network connectivity, configure the access point via ArubaOS, and perform a factory reset if needed. This manual is written in Chinese.
| LED PWR Indicator | Red = error, Green flashing = boot, Green solid = ready |
|---|---|
| LED ENET Indicator | Yellow solid = 10/100 Mbps link, Green solid = 1000 Mbps link |
| Ethernet Port | 10/100/1000Base‑T auto‑sensing RJ‑45 |
| Power Input | 12 VDC via AC‑DC adapter or PoE |
Press and hold the reset button with a small object, power on the AP while holding the button, then release after the power LED flashes for 5 seconds; the AP will reboot with factory settings.
The PWR LED indicates power status – red for error, green flashing during boot, and solid green when ready.