
This document describes how to set up and operate a Dell computer.
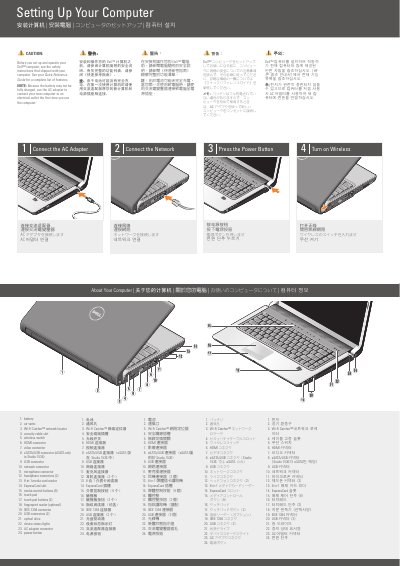
This setup guide walks new owners through the first steps of using a Dell Studio 1536 laptop: connecting the AC adapter, connecting the network, pressing the power button, and turning on wireless. It notes that because the battery may not be fully charged, the AC adapter should be used the first time the computer is used.
A numbered diagram identifies 24 parts of the computer, including the Wi-Fi Catcher network locator, 8-in-1 media card reader, ExpressCard slot, optional fingerprint reader, and IEEE 1394 connector. A second diagram shows the components of an optional wireless network, such as a cable or DSL modem and a wireless router. The guide directs readers to the Quick Reference Guide and support.dell.com for more information.
| Media card reader | 8-in-1 |
|---|---|
| Headphone connectors | 2 |
| Media control buttons | 9 |
| USB connectors | 2, plus one eSATA/USB connector |
| eSATA/USB connector | eSATA only in Studio 1536 |
| Fingerprint reader | Optional |
Because the battery may not be fully charged, Dell instructs you to connect the new computer to an electrical outlet with the AC adapter the first time you use it.
See the Quick Reference Guide; if you do not have a printed copy, go to support.dell.com.
Internet service, a cable or DSL modem, a wireless router, and a computer with a network adapter or wireless network card.
The eSATA function is only available in the Studio 1536.