
The Dell PowerConnect W-620 is a rack-mountable controller. This document describes how to install the controller in a standard 19-inch rack.
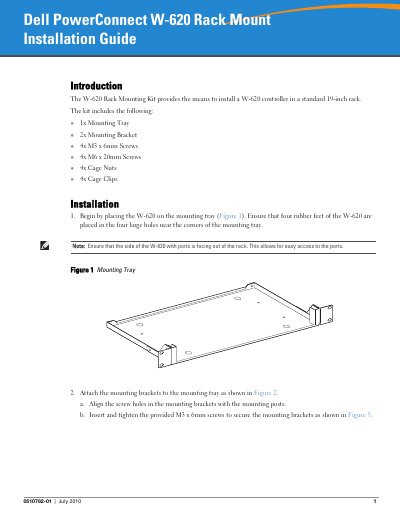
This guide explains how to install the Dell PowerConnect W-620 controller in a standard 19-inch rack using the W-620 Rack Mounting Kit. The kit contents are listed: one mounting tray, two mounting brackets, four M3 x 6mm screws, four M6 x 20mm screws, four cage nuts and four cage clips.
Step-by-step instructions cover placing the controller on the mounting tray, attaching the brackets with the provided M3 screws, and securing the assembly to the rack with M6 x 20mm screws. Separate procedures are given for telecom racks and server racks, including how to install cage nuts with a cage-nut installation tool or a flathead screwdriver, and a note that clip nuts should be used for racks with unthreaded round holes. The guide ends with connecting the cables and the country-specific AC power cord.
| Rack size | Standard 19-inch rack |
|---|---|
| Kit contents | 1x Mounting Tray, 2x Mounting Brackets, 4x M3 x 6mm Screws, 4x M6 x 20mm Screws, 4x Cage Nuts, 4x Cage Clips |
| Server rack width | 19-inch (48.26 cm) |
The side of the W-620 with ports should face out of the rack for easy access to the ports.
The provided M3 x 6mm screws are inserted and tightened to secure the mounting brackets to the mounting tray.
Insert the lower lip of the cage nut over the bottom of the square opening, compress the top lip with a flathead screwdriver, push it fully into the opening, then release the pressure to lock it in place.
Use the provided clip nuts instead of cage nuts for a rack with unthreaded, round holes.