
Introduces how to use the clamp frame. It can be used to embroider small bags, scarves or garment hems.
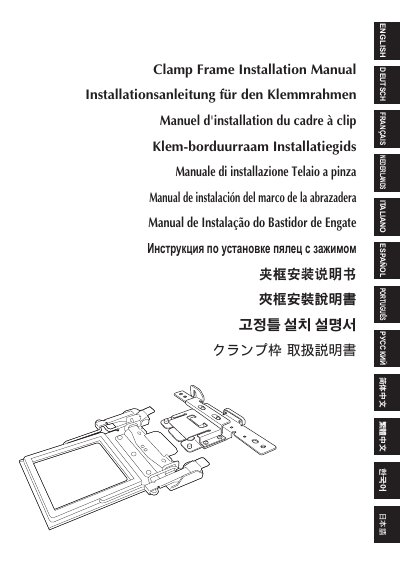
This installation manual covers the clamp frame kit, which contains embroidery frame holder D, the clamp frame itself and this manual. It explains how to check the package contents, how to hoop fabric in the clamp frame using the lock release levers, lock levers and the three holding positions, and how to attach the frame to an embroidery machine and remove it again. The text also notes that the maximum embroidery area of the clamp frame is 100 mm x 100 mm (4 inches x 4 inches) and that the frame cannot embroider an area more than 160 mm in height.
The document is multilingual, with the same instructions repeated in English, German, French, Dutch, Italian, Spanish, Portuguese-BR, Russian, Chinese (simplified and traditional), Korean and Japanese. Safety notes warn that the machine's start/stop button must be lit in red when the clamp frame is attached or removed, and that fingers must not be caught by the springs when the frame is pulled off.
| Maximum embroidery area (clamp frame) | 100 mm x 100 mm (4 inches x 4 inches) |
|---|---|
| Maximum embroidering height | Cannot embroider to an area more than 160 mm in height |
| Recommended maximum fabric thickness | 2 mm |
| Frame holding positions | Three positions on the frame |
| Kit contents | Embroidery frame holder D, clamp frame, installation manual |
The maximum embroidery area of the clamp frame is 100 mm x 100 mm (4 inches x 4 inches).
Yes. You can hoop your item with one-touch operation or rehoop items without removing the embroidery frame from the machine.
A maximum fabric thickness of 2 mm is recommended. Specially processed fabrics, such as those with a non-slip lining, may not embroider even below that thickness.
Make sure the start/stop button of the embroidery machine is lit in red, and install embroidery frame holder D before attaching the clamp frame.