
This file introduces the hardware and software setup of the Faro series laser trackers
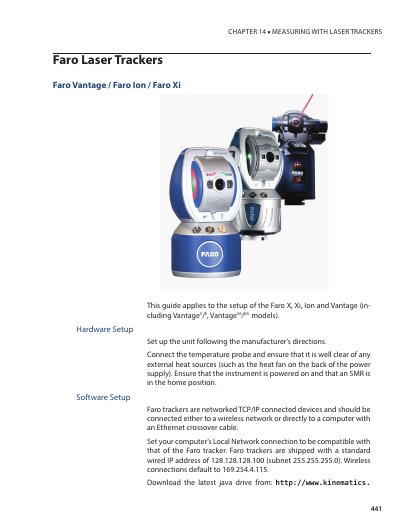
This guide covers the setup procedures for Faro laser trackers, specifically the X, Xi, Ion, and Vantage series (including VantageS/E and VantageS6/E6 models). It details the hardware setup requirements, such as connecting the temperature probe and ensuring the instrument is powered on with the SMR in the home position. The guide also addresses software setup, explaining how to connect the tracker to a computer via Ethernet or wireless network and configure the Local Network settings.
| Default Wired IP Address | 128.128.128.100 |
|---|---|
| Default Wireless IP Address | 169.254.4.115 |
| Subnet Mask | 255.255.255.0 |
The standard wired IP address is 128.128.128.100 with a subnet of 255.255.255.0.
The standard wired IP address is 128.128.128.100 with a subnet of 255.255.255.0.
Wireless connections default to the IP address 169.254.4.115.
You should wait approximately 10-20 seconds for the probe's beep and blue LED.