
Vonage Telephone Adapter User Manual, introduces the features and characteristics of the product, such as package contents, system requirements, front panel, rear panel, network overview, hardware installation, etc.
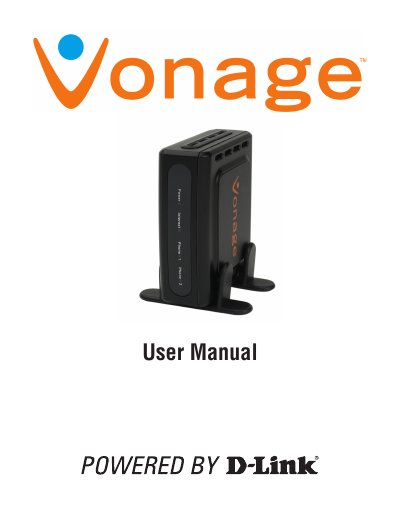
This manual covers everything you need to set up the D-Link VTA (Vonage Telephone Adapter), from package contents and system requirements to detailed front‑panel and rear‑panel descriptions. It guides you through network connection, hardware installation, and the steps required to activate your Vonage service.
The guide also includes configuration options such as static and dynamic IP settings, password management, and status monitoring, plus an appendix with troubleshooting IVR messages and a full list of technical specifications like ports, supported codecs, power requirements, and environmental limits.
| Connection Port | RJ-11, 2 FXS Port; RJ-45 Ethernet Port |
|---|---|
| Ethernet Speed | 10M Ethernet (IEEE 802.3) / 100M Ethernet (IEEE 802.3u) |
| Telephony Support | SIP Call Control Protocol |
| Audio CODEC | G.711 (A‑law and U‑law), G.723.1, G.726, G.729A, G.168 |
| Power Output | 12V AC, 1.2A |
| Dimensions | 90 mm × 82.46 mm × 31 mm (W×D×H) |
| Operating Temperature | 0 °C to 40 °C |
| Warranty | 1‑year limited warranty |
Visit www.vonage.com/activate, complete the activation, and wait about 30 minutes before checking for a dial tone.
A solid green Power LED shows the adapter is powered; solid green Phone LEDs mean the phone lines are ready; a blinking Internet LED indicates data activity.
Press and hold the reset button for at least 10 seconds; the device will revert to its default settings.